Pre-Installation Notes
- Make sure you have an AD forest functional level of at least 2008.
- If you are installing with an account that’s not the domain admin account, make sure the account has enterprise admin and schema admin group membership.
- Exchange Server should NOT be installed on a DC, best practice is to install it on a member server.
- Apply all the latest Windows updates before you begin.
- You will need a SAN SSL certificate from a certificate authority, in our example we will use Godaddy.
- This guide will assume a single, multi role Exchange server (Edge + Mailbox).
Download and install Microsoft .net 4.5, Unified Communications Manager API 4.0 and Microsoft Communications Managed API 4.0 Runtime.
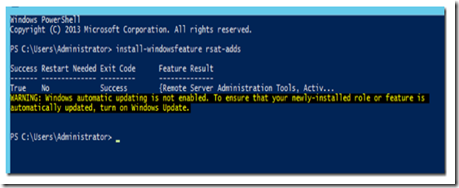
Install RSAT-ADDS by executing the following PowerShell command:
install-windowsfeature rsat-adds
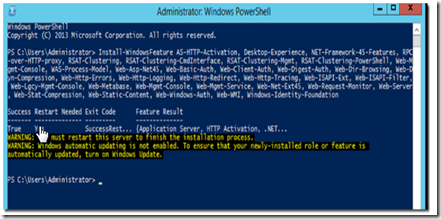
Execute the following PowerShell command to install the mailbox server pre-requisites:
Install-WindowsFeature AS-HTTP-Activation, Desktop-Experience, NET-Framework-45-Features, RPC-over-HTTP-proxy, RSAT-Clustering, RSAT-Clustering-CmdInterface, RSAT-Clustering-Mgmt, RSAT-Clustering-PowerShell, Web-Mgmt-Console, WAS-Process-Model, Web-Asp-Net45, Web-Basic-Auth, Web-Client-Auth, Web-Digest-Auth, Web-Dir-Browsing, Web-Dyn-Compression, Web-Http-Errors, Web-Http-Logging, Web-Http-Redirect, Web-Http-Tracing, Web-ISAPI-Ext, Web-ISAPI-Filter, Web-Lgcy-Mgmt-Console, Web-Metabase, Web-Mgmt-Console, Web-Mgmt-Service, Web-Net-Ext45, Web-Request-Monitor, Web-Server, Web-Stat-Compression, Web-Static-Content, Web-Windows-Auth, Web-WMI, Windows-Identity-Foundation
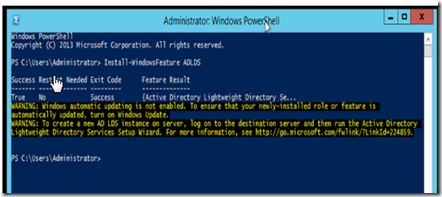
Execute the following PowerShell command to install the edge server role pre-requisites. You can also add ADLDS to the mailbox role feature installation command previously used, BTW.
Install-WindowsFeature ADLDS
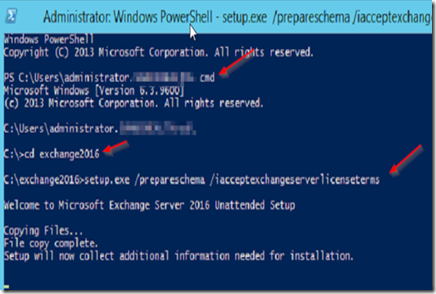
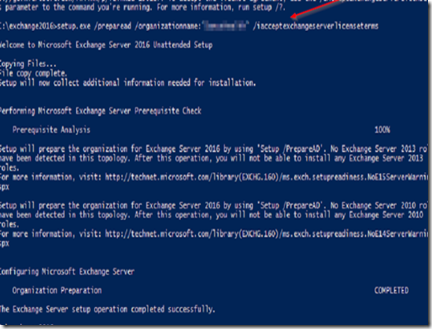
To extend the AD schema, open Powershell and type CMD. Navigate to the installation media and execute the following command:
Setup.exe /PrepareSchema /IAcceptExchangeServerLicenseTerms
Now execute the following command to prepare Active Directory:
Setup.exe /PrepareAD /OrganizationName:”<organization name>” /IAcceptExchangeServerLicenseTerms
Once finished, open the installation folder and double click on setup.exe.
We are on our way…
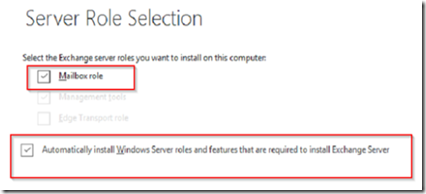
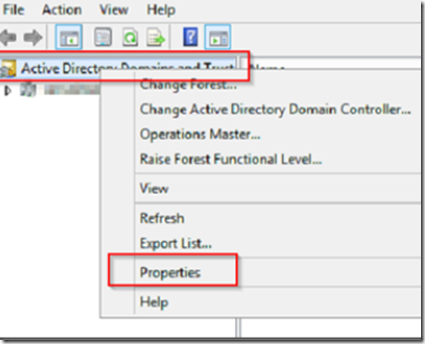
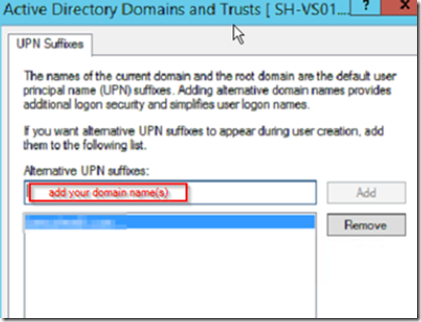
Make your selections concerning roles and malware checking and after the readiness check completes, click on the install button. While you are waiting for Exchange Server to install, open Active Directory Domains and Trusts MMC, right click on Active Directory Domains and Trusts and select properties.
Add your domain name to the UPN suffix list.
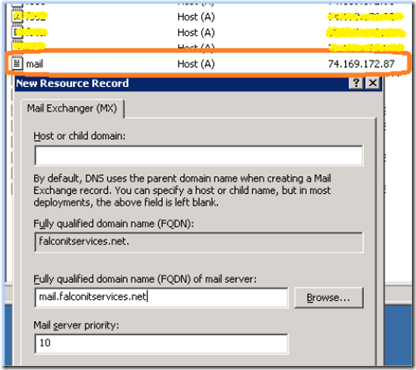
Next, make sure that you have a corresponding A record and MX record in the authorative DNS server for the SMTP domain.
Now may be a good time to check that your firewall ports 25 and 443 (HTTPS and SMTP) are open and forwarding to the Exchange server.
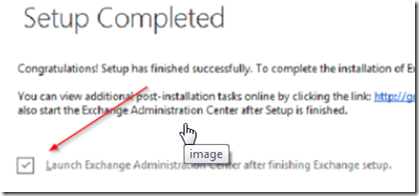
Once setup has completed open ECP by launching the admin center or by visiting https://servername/ECP
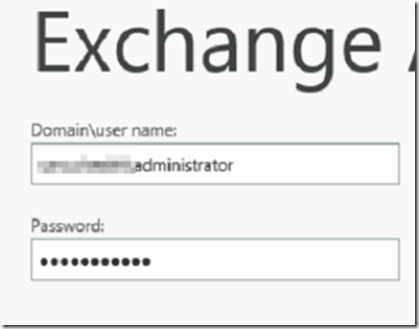
Log in to ECP
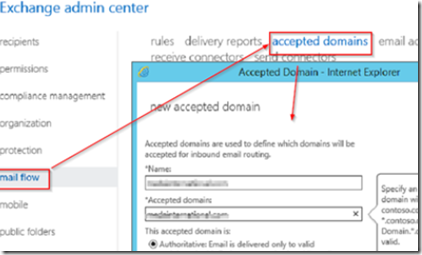
Navigate to mail flow –> accepted domains and add the domains for which this server will receive mail. Add the authorative domain names and click save.
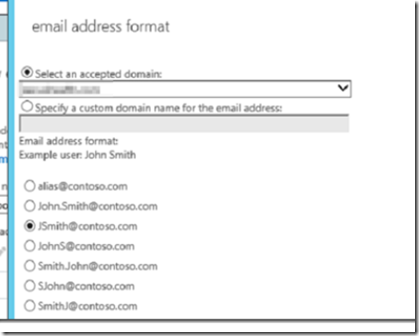
If you want these domains to automatically propagate to mailboxes, select mail flow –> email address policies and add the policies.
When finished, make sure to apply the policy by clicking on the apply link at the bottom right.
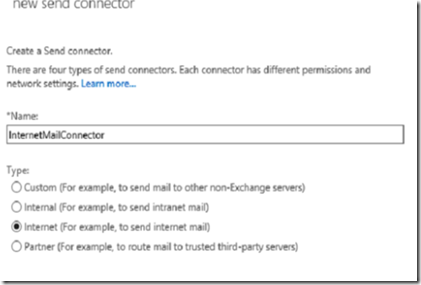
To successfully send e-mail using Exchange 2013, we must first set up a send connector. To do this, go to mail flow > send connectors and click on the plus icon. Give your send connector a friendly name and select Internet from the radio buttons.
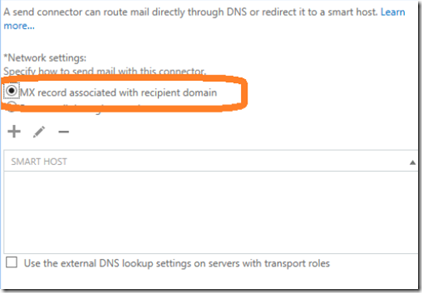
In the next screen select MX record associated with recipient domain unless you are going to route your outbound mail by using a smarthost.
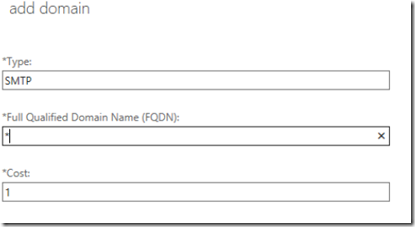
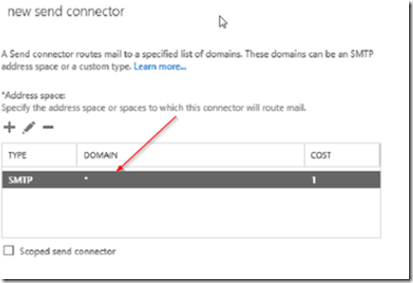
In the next screen, click on the plus icon to add an address space. Place an asterisk in the FQDN field to allow sending to anyone. Do not checkmark scoped connector.
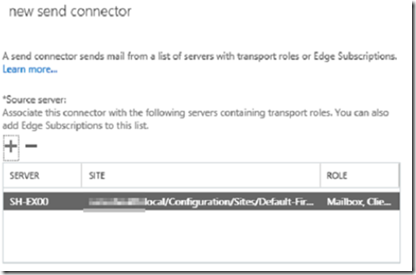
In the source server section of the new send connector screen, click the plus icon to add the transport server that will be used to send mail from this connector. In our case, there is only one server since we configured a dual role Exchange 2013 server.
The next step is to install the SSL certificate. For this example, we will use Godaddy.
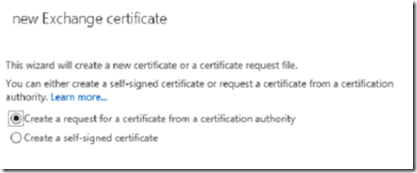
Create a shared folder on the Exchange server’s local drive named exch. Open ECP, go to servers –> certificates and click + to add a new certificate. Select to create a CSR from a trusted CA.
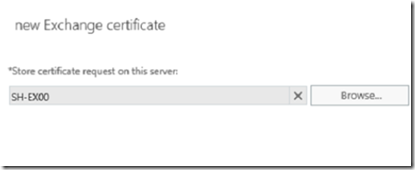
Give your certificate a friendly name then select the Exchange server to store your certificate.
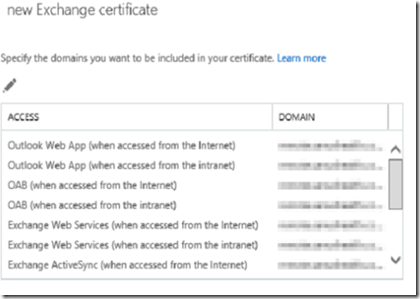
In the new certificate windows, change the certificate url to the fqdn. For example, mail.mydomain.com. All the services can use the same fqdn except the autodiscover service which should have autodiscover.mydomain.com as the fqdn.
Some people like to have internal self signed certificates for the internal services. You can use the same certificate and FQDN for both internal and external services as long as you have a loopback rule in your firewall that will direct public FQDN’s on port 443 back to the local Exchange server. I personally use the same public FQDN for internal and external services.
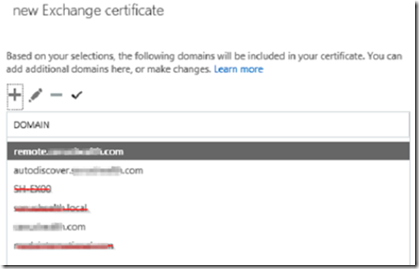
In the certificate fqdn selection window, remove any certificate that have .local or netbios addresses. You should only have:
mail.yourdomain.com
autodiscover.yourdomain.com
yourdomain.com
You don’t have to use mail as the host name, it can be anything as long as it matches the fqdn in the previous step (above) and you have a DNS A record that points all three of the above FQDN’s back to the Exchange server’s public IP address. In the example below, our certificate fqdn is remote.domain.com.
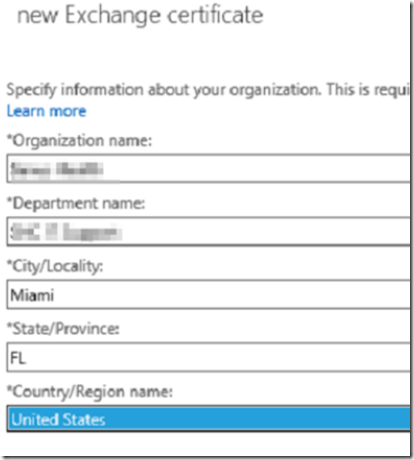
Fill out the organizational information.
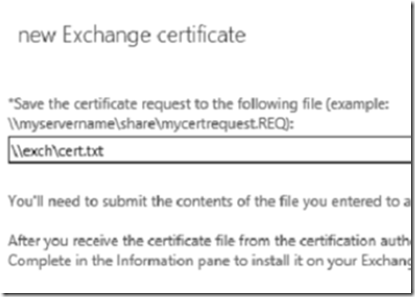
Save the certificate as a text file to the shared folder that we previously created.
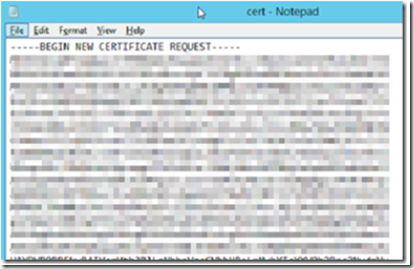
Open the file in Notepad editor, this is the CSR you are going to submit to the CA.
The next step is to call a CA and purchase a UCC/SAN certificate, prices may vary.
You can purchase certificates from Godaddy, Verisign, etc. I have found the best place to purchase certificates is https://www.ssls.com
Copy and paste the text from the CSR into the certificate authority’s CSR dialog box. The certificate authority will process the CSr and issue a certificate that they will either email to you or provide you a link to download. Once you have the certificate, download it to the Exchange server.
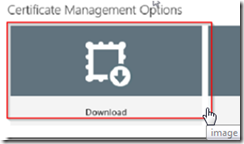
The certificate will likely be zipped so make sure to extract the files. Once extracted they will look something like this:
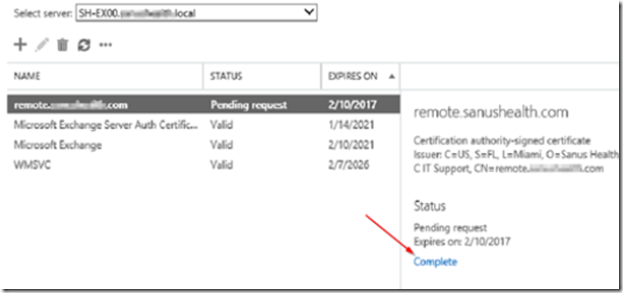
Go back to ECP –> server –> certificates and click to complete the CSR.
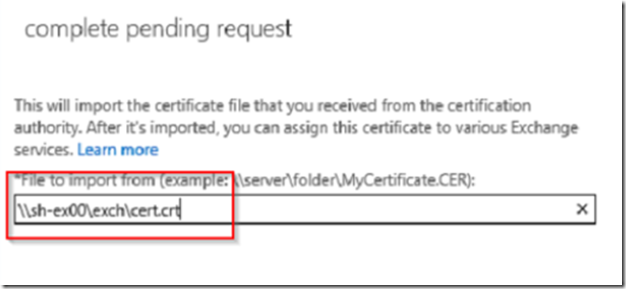
Point to the downloaded certificate and make sure you use .crt extension instead of .cer if the certificate is from Godaddy.
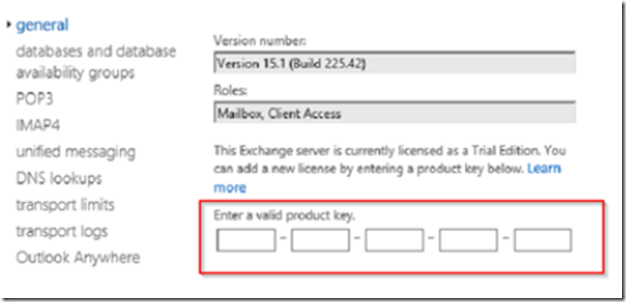
Go to servers, highlight the Exchange server and click on the edit icon then enter your product key.
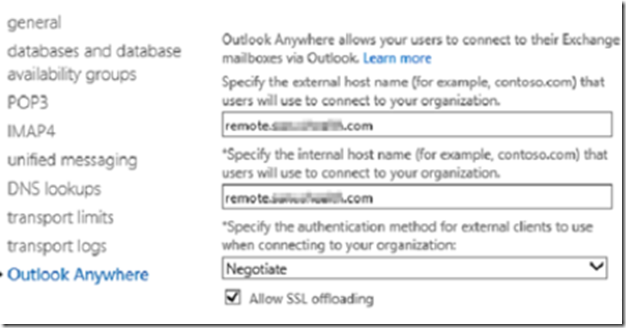
Click on Outlook anywhere and make sure you set the Outlook Anywhere (a.k.a. Outlook RPC over HTTPS) FQDN’s.
Open Exchange Powershell and execute the following command:
Set-MapiVirtualDirectory -Identity “domain\mapi (Default Web Site)” -InternalUrl https://domain.com/mapi
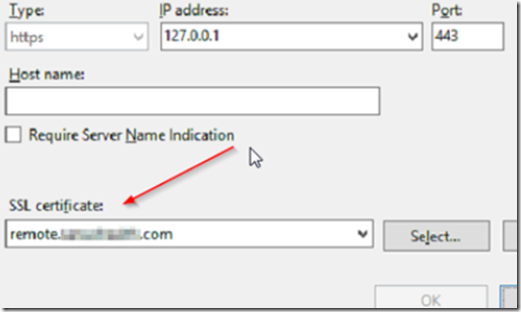
Open IIS7 and set the HTTPS site binding to the correct SSL certificate.
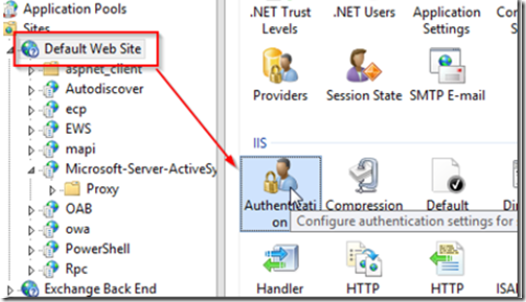
Navigate to the IIS default Web site and double click authentication.
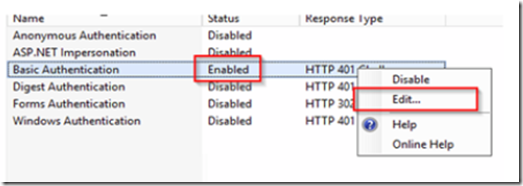
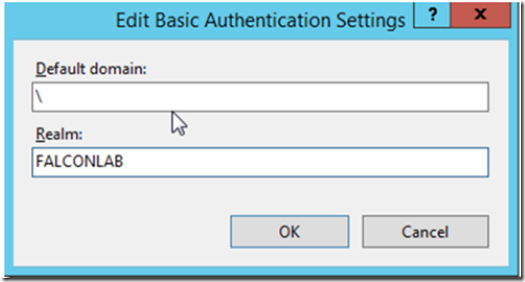
Enable basic authentication, then right click and select edit.
In the default domain field enter a backslash and in the realm field add your domain.
If your certificate is from Godaddy, you will need to install an intermediate certificate in the certificate store. Otherwise, you are done!
Installing an Intermediate Certificate
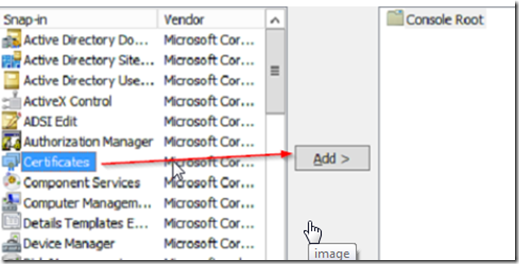
Open MMC by typing MMC from PowerShell , go to file –> add/remove snap in and add the certificates snap in.
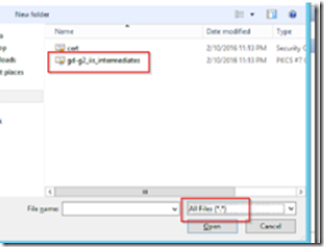
Select computer account then local computer, and look for the Godaddy Intermediate certificate that we downloaded earlier.
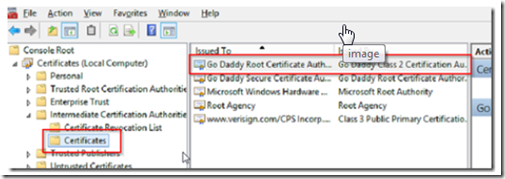
Import it in to the Intermediate certificate authorities certificates store.
