Typical SharePoint scenarios involves internal use (Intranet). But what happens when you want to use it externally? We ran across this situation recently. A client of ours wanted to securely grant access to their Intranet to a select group of outside salespeople
The solution was to extend their Web application. Extending the Web application allows you to use an alternate FQDN and port to display existing SharePoint content. This is very useful for extranet applications or to grant external access to Intranet sites.
In this example, we are going to make an internal SharePoint application accessible over the Internet by extending it using https protocol and SSL.
To begin, make sure you back up the site/server first, then go to central administration –> application management –> manage Web applications
Select the internal Web site that you wish to extend and click on the extend button.
Select new IIS site (1), the give your site a freindly name (2) and in the host header section (3), enter your site’s FQDN that will be accessible via the public Internet. Disable anonymous access (4) and enable SSL (5).
In the public URL section, select extranet zone.
Click Ok to extend the site. Once extended, you shoul see the URL in the alternate access mappings.
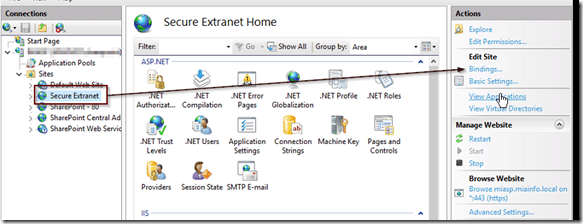
Open IIS7 and you will find the site there as well.
Creating an HTTPS Site using SSL Certificates
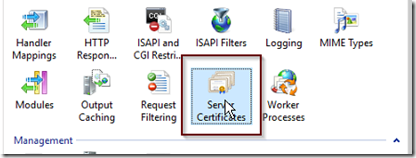
You can use a private or public certificae. In this example we will go with a public. Select server certificates from the IIS page.
Click on the create certificate request link. Enter the site’s public URL in the common name and fill out the rest of the details.
Select Microsoft RSA cryptographic Provider and a bit length.
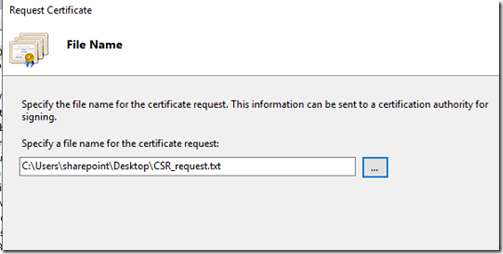
Give the file a friendly name and export it.
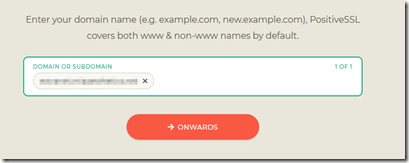
There are several public certificate authotities you can use, for this example I will use ssls.com. You don’t need anything fancy for this, just a basic single domain SSL will suffice.
Once you purchase the SSL certificate and activate it, you will need to enter the CSR.
Copy the entire text file from the CSR you saved..
And paste in into the CSR dialog box in the SSLS CSR page.
The CSR will contain the public FQDN for your Extranet site.
Select the option to receive a validation by email and select a valid email address inside the domain. You will receive an email asking you to validate the domain by copying and pasting a code into a Web site. Once this is done, your SSL certificate will be issued and you will notified by email. After you are notified, go back to SSLS and download the certificate.
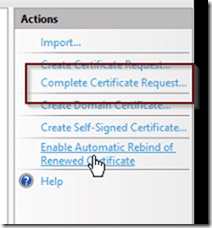
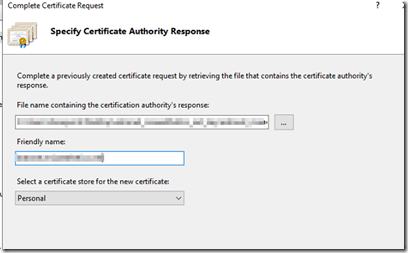
Right click on the certificate to extract the cert from the zip file. Then, click on the complete certificate request link in your IIS action pane.
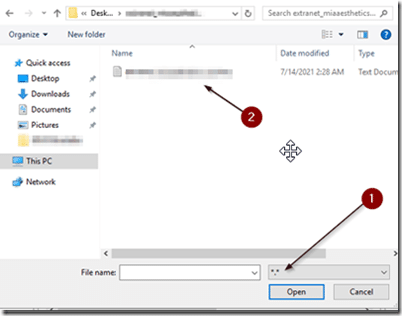
Navigate to the extracted files and make sure your filename wildcard (1) is set to all files *.* and locate the certificate file ending in .crt (2).
Give your SSL a friendly name and import the private key.
Select the IIS7 Web site and click on the bindings link from the action pane.
Highlight the https type and click on the edit button. from the SSL certificate drop down box, select the certificate you just created.
The final piece is to open port 443 on your firewall and forward it to your SharePoint server.
