Geo-IP filtering allows your Office365 server to block log-ins from countries where you do not have any presence and there is no reason for anybody to log-in from these countries. This can greatly enhance your security in case on of your users get phished and their session tokens are stolen.
Hackers have access to VPNs and also to endpoint inside your own country, so this method is not infallible. What it does do is make the hacker’s job harder and buy you time in case a mailbox is compromised.
Note: There are so many different ways of achieving your Geo-IP blocking goals. This tutorial does not take into account access of least privilege and is intended to make the rule as simple as possible to create and maintain. Once you get more hands-on experience in Azure, you can create rules that are more intricate, for example: creating a traveler’s groups that take into account the country of travel instead of bypassing the rule completely. I reiterate, this tutorial focuses on simplicity and it’s better to have a simple Geo-IP rule than no rule at all.
To begin, we will need to set up a conditional access policy which requires an Azure P1 subscription. Log in to https://entra.microsoft.com as a global admin or a conditional access administrator and navigate to protection -> conditional access -> policies.
Create a new policy and give it a friendly name and click on the conditions link to create a condition.
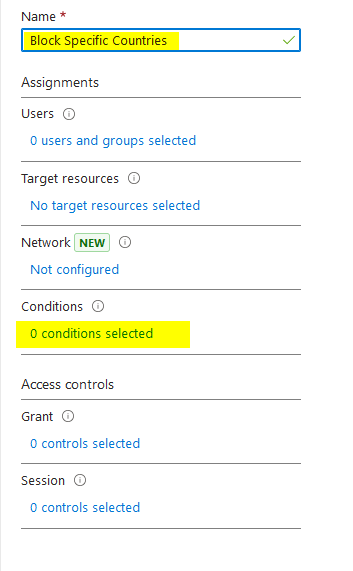
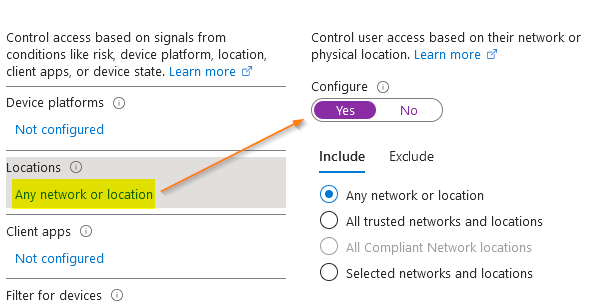
Next, click on locations and enable the control.
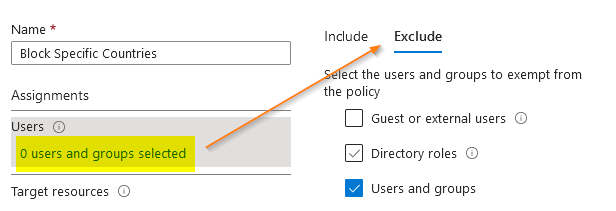
In users and groups, set up the global admin account as excluded, this way you won’t accidentally lock yourself out via policy creation error. Follow good cybersecurity practice by NOT using your global admin as your mail-enabled working account and make sure that you have MFA enabled on it. The GA account should only be used to log in when making changes and login should be from a trusted, secure computer and never from any public WiFi hot spots or unknown networks.
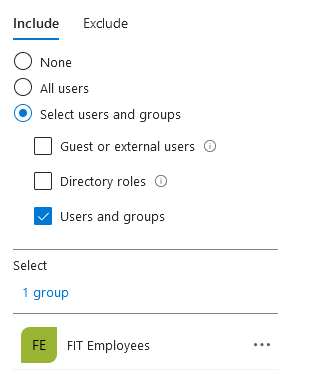
Create a user’s group and include the group. It’s better to start with a limited set of users in a group and test your policy before rolling it out to everyone. You can also create a group named travelers and add the group in the exclude option. When you have employees traveling abroad, you can just add them to this group so they can temporarily bypass the Geo-IP rules.
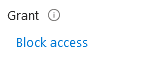
Click on grant access and set to block access.
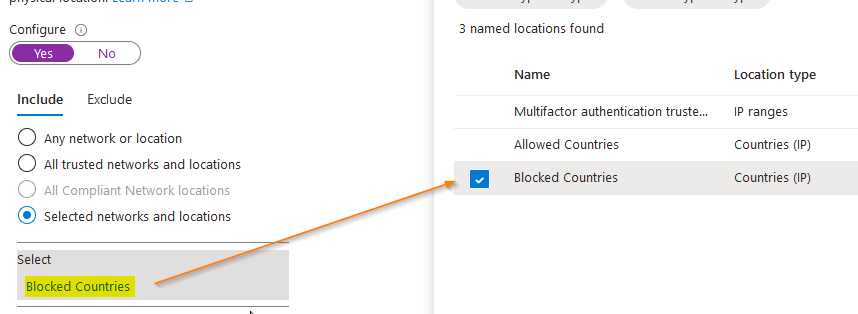
Now click on the blocked countries link and place a check mark on the blocked countries check box.
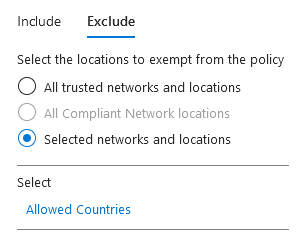
Exclude allowed countries by selecting allowed countries under the exclude option.
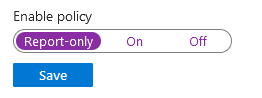
Save the rule but leave report-only attribute enabled for now.
Navigate to the named locations section and place a tick the appropriate options for allowed and blocked countries.

Checking Your New Policy Before Enabling
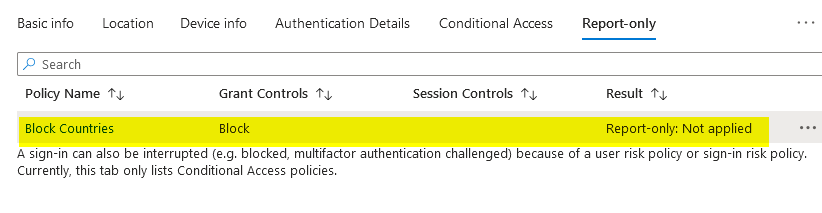
Navigate to user sign-in logs and select a user that has the newly created policy applied. Once selected, click on the conditional access and report-only links to view how the polices are being applied.
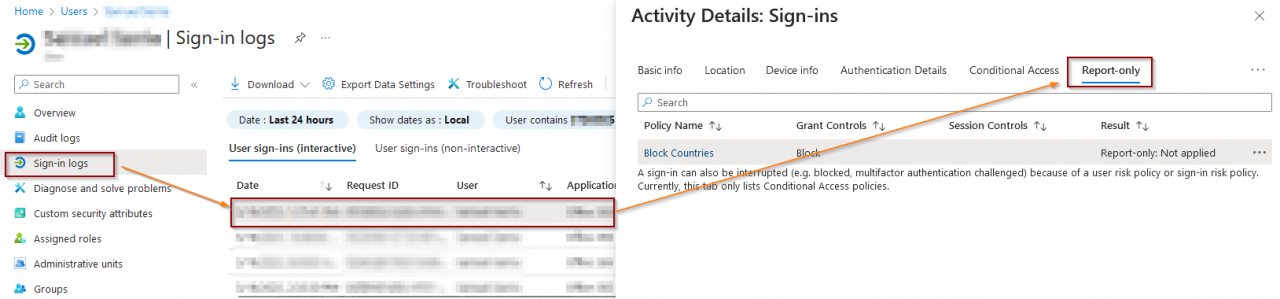
Here you can see details about how the policy is applied to the user.
Once you are confident that the policy is working as intended, go back and change the enable policy attribute from report-only to on.
As previously discussed, IT wisdom favors canary rollouts. Only include a small subset of users in your new policy and wait a few days before adding more users. This will give you an opportunity to discover hidden nuances that affect your users without company-wide havoc.