Using the Asterisk behind a NAT firewall is not recommended. If you have done this, you know about the headaches that arise out of this configuration. In this post, I will show you how to avoid the NAT/SIP conundrum without having to expose your PBX to the Internet directly and without having to purchase and configure an additional firewall.
I will assume that you already have a working LAN/WAN environment with a Sonicwall Enhanced OS firewall. We are going to set up the PBX on the OPT port using a secondary public IP address that should be provided to your by your ISP.
The requirements are:
- Sonicwall router with Enhanced OS
- 1 Additional Static Public IP address for your PBX
- 1 Pre-Configured, working Trixbox or FreePBX system
To begin, log in to your Trixbox and enter the following command: system-config-network
Select edit devices and enter the static public IP information on your NIC interface that you will give your PBX. Note: This should be a secondary static IP that you requested from your ISP. Do not use the primary static IP that’s already assigned to your firewall’s WAN port!
Enter 208.67.220.220 and 208.67.222.222 for the DNS servers, then save the changes and restart the PBX by typing reboot at the command prompt.
Connect the PBX’s NIC interface to the X2, DMZ or OPT port on your Sonicwall router (the label may vary depending on model and version)
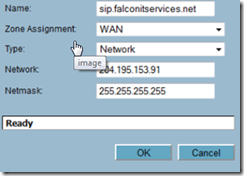
Next, log in to your Sonicwall router, navigate to Network –> Address Objects and add a new object. Give your object a friendly name, enter WAN as the zone assignment and enter the public IP address and network mask that you used for the PBX. Click OK when finished.
Now click on Network –> Interfaces and edit the X2 (DMZ or OPT) interface. Select DMZ as the zone type, transparent mode as the IP assignment and add the address object we previously created to the transparent range. You can optionally allow ping and https management to the interface. Click OK when finished.
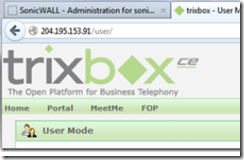
You should now be able to enter the IP address of the Trixbox and access its user interface from anywhere on the Web.
This configuration is not recommended, we need to make sure that we open ONLY the required ports for SIP and close all other ports. To do this, navigate to Firewall and click to edit the WAN to DMZ zone.
Add the following rules:
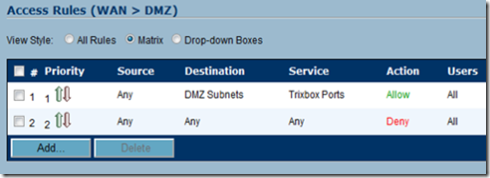
Any –> Any –> Any –> Deny
This will ensure that all ports are blocked and that your PBX is safe. Once this is done, it’s time to open the correct ports. You will need to open the following ports and please be aware that these may vary depending on your configuration.
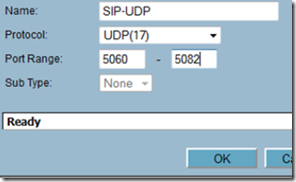
From the Sonicwall router, select Firewall –> Services, scroll to the bottom and click on the add button. Give each service a friendly name, select the proper protocol and port range and click OK when finished. Repeat this step for each port range you want to open on the firewall.
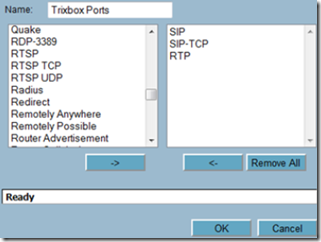
Once finished, go to Firewall –> Services and click on the add group button. Give the group a friendly name and move the ports you just created to the group.
Now navigate back to Firewall and edit the WAN to DMZ access rules once again.
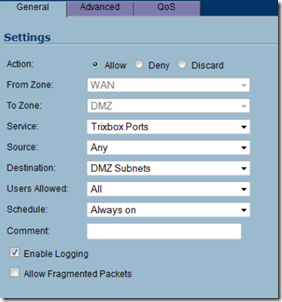
Click add and select allow as the action. Select the service group you created in the prior step as the service, any as the source and DMZ Subnet as the destination IP. This will open the ports to allow your PBX to communicate with the outside world.
Make sure that the allow rule supersedes the deny rule by moving it up on the priority list.
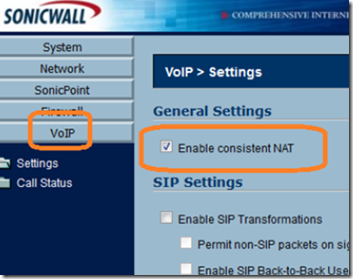
Finally, enable consistent NAT from the VoIP menu.

