In this article, we will convert a physical server into a virtual server. Physical servers can be virtualized for many reasons. The most common scenario is where an IT manager finds himself managing an old server that has an important application that cannot be migrated for some reason (no upgrade available, developer no longer in business, etc.). Rather than waiting around for the old server to fail, you can virtualize the entire application and run it on a more robust, modern, redundant server.
How to Virtualize a Physical Server and run it in a Microsoft Hyper V Environment
The first thing we need to do is to download Disk2VHD software. This utility will create a .vhd file from a physical disk. It can even virtualize a system that’s on-line by using Volume Snapshot.
As an example, we are going to virtualize an old PC that has an IDE hard drive. We are using an IDE to USB converter to connect the drive to our Hyper V server.
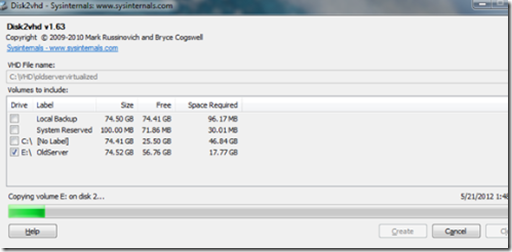
To begin, run Disk2VHD. Chose a target location for the VHD file and select the physical drive to virtualize. Click create.
Once the virtual image is complete, open the Hyper V management console and follow these instructions:
- Select new virtual machine from the action menu
- Give your VM a friendly name and click next.
- Allocate the desired amount of RAM and click next.
- Select a virtual LAN adapter and click next.
- In the ‘connect virtual hard disk’ screen, select use existing hard disk.
- Click browse and locate the VHD file, then click next and finish.
You are now ready to turn on your virtual server!

