Creating snapshots in Hyper-V is both a blessing and a curse. On one hand, before making a change, you can take a snapshot and quickly recover if something goes wrong. On the other hand, reverting a snapshot can have disastrous consequences when done to Exchange Servers, Domain Controllers or when reverting snapshots that are too old. Another caveat of snapshots is that if your forget to delete the snapshot (or snapshots), the avhdx files can grow quickly and get out of hand.
For these reasons, Microsoft recommends that snapshots be used only in test environments, not in production environments (it would be a good idea to have a dialog box warning whenever you take a snapshot!).
When you delete and consequently merge snapshots, the snapshot file you are merging (avhdx file) grows to ginormous (seriously, is that really a word?) proportions. It grows to exceed the original vhdx file before finally being merged and clearing up plenty of disk space. Unfortunately, during the process, you are tortured when watching the available disk space shrink while you hope that you do not run out of disk space.
Sometime, the disk space runs out before the merge completes.
There are many ways to tackle this issue. If you have Server 2012R2, you can create a new checkpoint and export it. This will create a single file which can then be imported back. Another way is to move the virtual machine, using live migration, to a server where there is plenty of disk space. Unfortunately, we do not always have an extra server with lots of free Terabytes lying around.
Lastly, we can move the virtual machine’s disk to another volume. In our example below, we are going to use an external USB drive. Although this is the least desirable media type due to speed and reliability, these devices can get you out of a bind quickly and cheaply.
How to Move a Virtual Machine and Complete the Snapshot Merge In Progress
Note: This is a delicate procedure, so like with any data move or change procedure, MAKE SURE YOU HAVE A BACKUP ! You can use the export virtual machine feature to make a backup of the VM before proceeding.
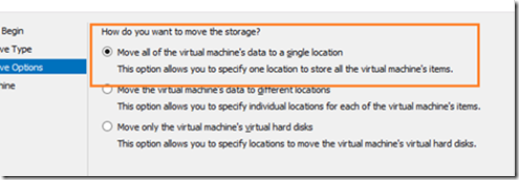
To begin, right click on the virtual machine and select move. In the choose move type, select move the virtual machine’s storage.
Next, choose whether you want to move the virtual machine’s hard drive or the entire virtual machine.
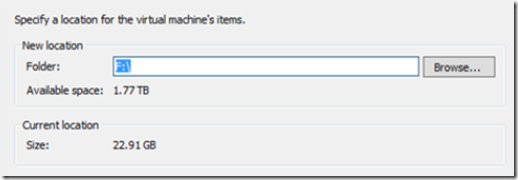
Now select the volume you want to move the virtual machine to, and then click finish.
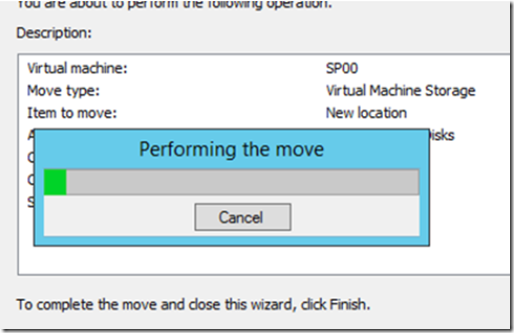
Try to relax until the process completes. Depending on the size of your AVHDX files, it may take quite a while!
You may notice that the destination drive (B) is starting to fill up, but the source drive (A) is not being emptied. Don’t worry, the source files will not be removed until the VM has been successfully moved and verified.
When the process completes start the VM. If there are any merges in progress, you will see the merge in progress notification in the status field. Right click on merge in progress notification and cancel it. Wait for the VM to power up (notice how long it takes, that’s the USB disk). After you verify that the VM is running without any problems, log in and shut it down.
Once it’s shut down, the merge in progress will begin again.
Complete all merges without the VM running. This will speed up the merge process and place less stress on the USB drive. The idea, at this point, is to remove the snapshots and merge the files as quickly as possible and then move the vhdx files out of the USB disk and back on to the server’s disk. The longer you keep the disk files on the USB drive, the higher your chances of something going awry.
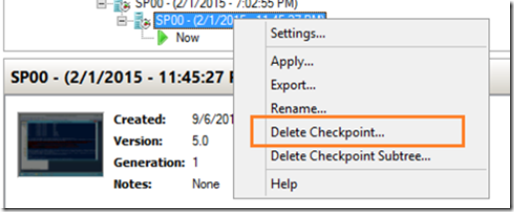
When the initial merge completes, delete another checkpoint and wait for the corresponding merge to complete.
Repeat this process until all checkpoints have been removed and all merges have been completed.
When you have finished deleting and merging all the checkpoints, use the above process (in reverse) to move the virtual machine and it’s corresponding disks back to the server.


