Live migration allows you to move a virtual machine from one host server to another without taking the VM off-line. This is extremely useful in production environments where uptime is critical.
In the past, when servers began showing signs of needing replacement, the project had to be scheduled during off-peak hours and great preparation was needed in order to mitigate downtime. Virtualization dramatically reduced that by allowing us to export virtual machines from one host to another. Live migration goes a step further: you can move a virtual machine from one host to another without taking it off-line!
In this post, I will detail exactly how to do that. Here’s what you will need:
- Two Hyper-V servers running one or more virtual machines
- Both Hyper-V servers must belong to the same domain
- Both Hyper-V servers must have connectivity between them
We will refer to the Hyper-V server that contains the virtual machines that we want to move as the source server. The machine that we want to move the virtual machines to, will be referred to as the target server.
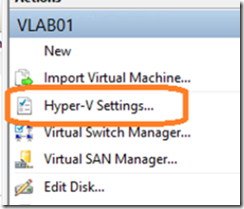
To begin, let’s enable live migration in both the host and target servers. To do this, open the Hyper-V manager and click on Hyper-V settings under the actions pane.
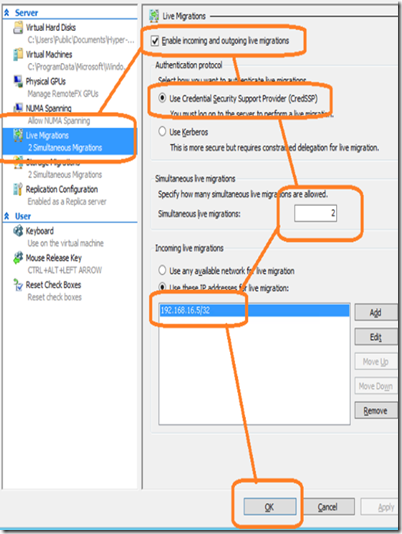
Select Live Migrations from the server menu and place a checkmark on ‘enable incoming and outgoing live migrations’.
Select an authentication protocol and the number of simultaneous live migrations. In the target server’s ‘incoming live migrations’ settings, enter the IP address of the source server then click OK.
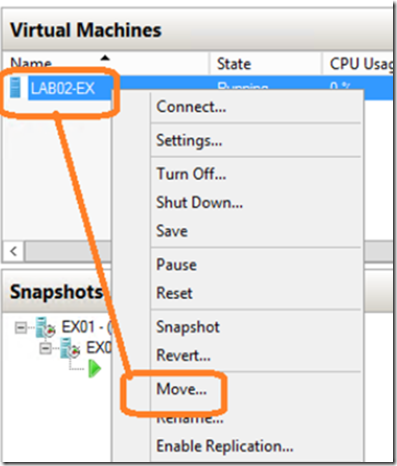
Next, right click on the VM you want to migrate and select ‘move’ from the drop down menu.
When the live migration wizard appears, click next. Select ‘move the virtual machine’ and then click next.
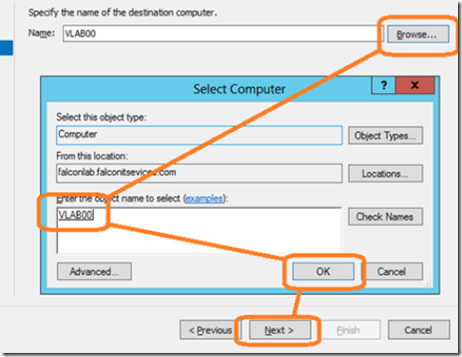
In the destination computer field, click the browse button and locate the destination server. When finished, click next.
In the move options, select ‘move the virtual machine’s data to a single location’ then click next.
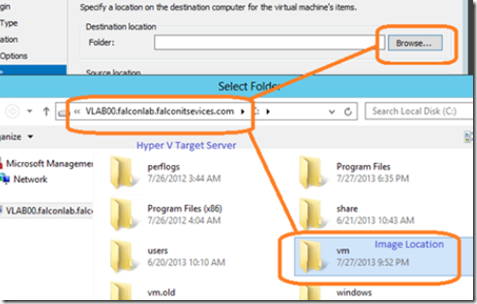
In the virtual machine location screen, click browse and choose the folder on the target server where you store your virtual machine images.
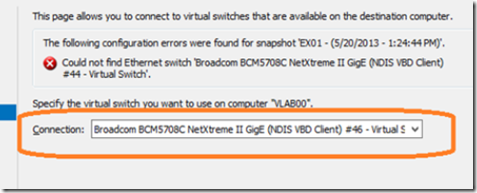
Click next and select a network virtual adapter on the target server to assign the VM. When done, click finish.
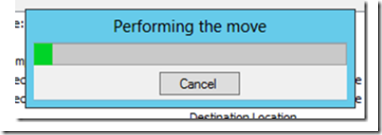
The virtual machine will begin the live migration process.
When the process has completed, the virtual machine will be running on the target Hyper V server.

