TCP/IP Printers are preferred to USB printers for several reasons. Not only are they shared more easily over a network, but they are not prone to the broken, intermittent and loose connections that plague USB devices.
Before adding a TCP/IP printer to your computer, make sure that you have entered in to the printer’s GUI interface and set up a static IP address. Dynamic addresses will work if use the printers NetBIOS name to connect, but using a static IP address to print directly to a printer is more reliable.
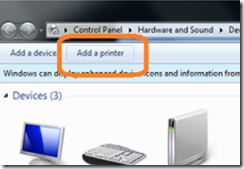
To begin, give your printer a static IP address (if it doesn’t have one already) and then open devices and printers and click on the add printer button.
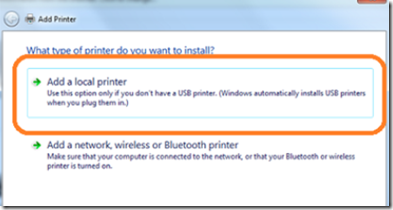
From the add printers dialog box, click ‘add local printer’.
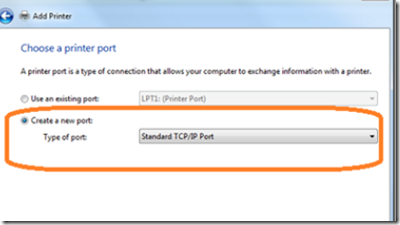
Click on the create new port radio button and select standard TCP/IP from the drop down menu.
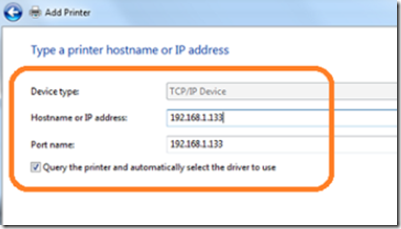
Enter the printer’s IP address in the host name or IP address field.
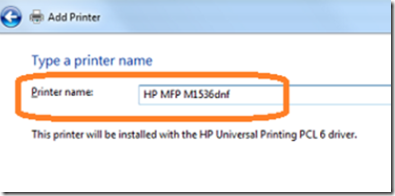
If a driver is required, you will be prompted to enter the location containing the driver .inf files. When the driver is installed, give the printer a friendly name.
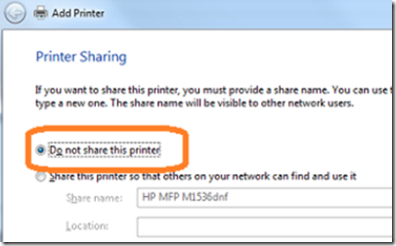
Finally, choose sharing options. In a work environment, printers are usually shared only through print servers so DO NOT share your printer. Doing so will result in multiple instances of the same printer being shared across many PC’s on the network.

