I have seen several instances where Hyper-V guests stop working because the host machine runs out of disk space during a merge. Although you should never use a checkpoint on a production server, the temptation is there, and if you forget to delete it afterwards, you could find yourself in a pickle later on if you need to merge a large checkpoint and have little free space on the host server.
There is a quick an easy way around this, albeit with a caveat. The process involves moving the Hyper-V guest storage to an external USB drive that has plenty of space, merging the snapshot, then moving the data back. The risk is that USB drives are not as reliable for heavy loads, as for example, RAID arrays. The benefit is that it’s a quick solution that can get you out of a bind.
A safer way would be to do a live migration to another Hyper-V server that has available disk capacity, merge the snapshot, then move it back. However, this article is a quicker solution intended for companies that do not have an extra Hyper-V server with spare capacity lying around.
Make sure you have a backup of the Hyper-V guest before proceeding.
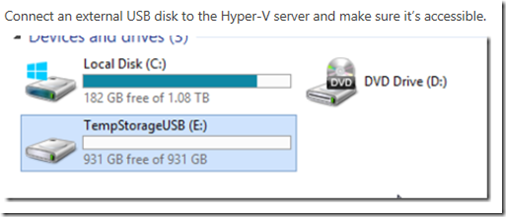
Connect an external USB disk to the Hyper-V server and make sure it’s accessible.
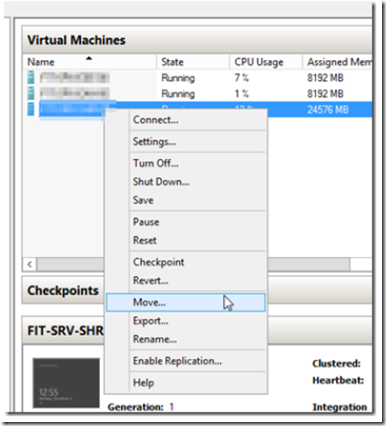
From the Hyper-V manager, right click on the Hyper-V guest and select move.
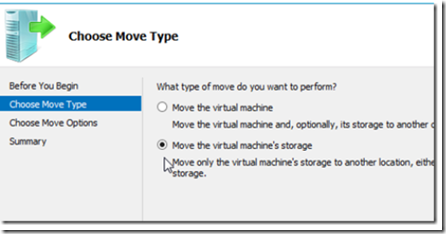
Select the option to move the Hyper-V guest machine’s storage.
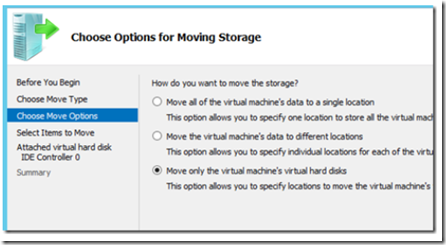
In the next option, select to move only the virtual machine’s storage.
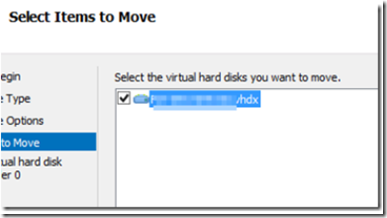
Selecty the guest machine you want to move, then click next.
Select the temporary USB drive storage drive to move the hyper-V guest disk image.
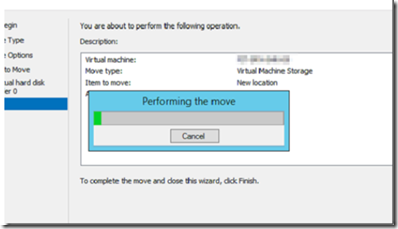
Click finish to begin the move process.
If you look at the USB drive volume, you will see that the Hyper-V copy process will begin copying the VHDx file and then, when it’s finished, it will copy the snapshot file(s) as well (aVHDx).
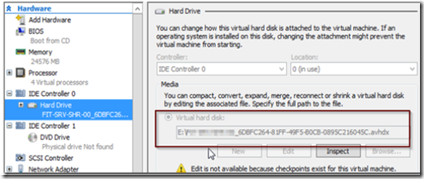
Depending on the size of the VM and the snapshots, this process could take several hours and up to a day. Remember USB disks don’t have the I/O performace of a RAID subsystem or direct bus SCSI/SATA connection. Luckily, you can continue working since the Hyper-V guest is still running during the move process. Sit back, relax and let it happen… When the process finishes, you can verify that the move has completed by going to the Hyper-V manager and looking at the hard drive media location.
You should also see that the disk volume where the VM was located has extra disk space.
Now, proceed to remove the snapshot as you normally would. Right click on the Hyper-V guest and delete delete checkpoint or delete checkpoint subtree. You can also use PowerShell to remove the snapshot if the option to delete from the GUI is not present (this can happen sometimes).
Get-VMSnapshot -ComputerName “VMHostName” -VMName “VMGuestName” | Remove-VMSnapshot
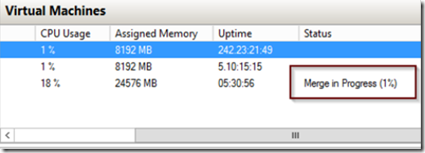
The merge process will begin.
Once the Hyper-V merge is completed, use the same process described above, in reverse, to move the VM guest back to the original drive volume and away from the USB disk. DO NOT be tempted to leave the VM guest running off the USB drive unless you relish tragedy, drama or watching things crash and burn.

