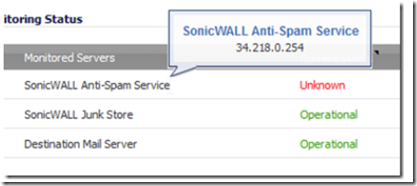
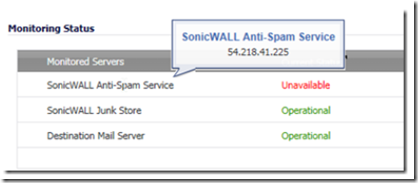
A few weeks ago, a pair of perfectly working (albeit old) Sonicwall TZ-215’s stopped processing Anti-Spam filtering within days of each other. Both had the same problem: The Sonicwall Anti-Spam service was unavailable. Both had active Anti-Spam subscriptions.
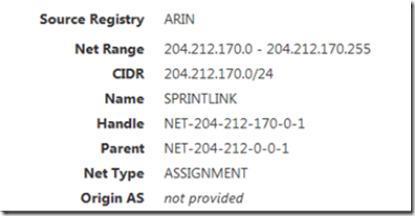
After several days of frustration and research, one of my clients opted to purchase a new TZ-400 firewall to end the problem. It was installed and sure enough, CASS worked perfectly. I set out to examine the difference between the new TZ-400 vs. the old TZ-215’s. Both of the TZ-215’s that were not working had anti spam service IP addresses that belonged to Amazon AWS, but the new TZ-400’s anti spam service had an IP address (204.212.170.13) that belonged to Sprint! Eureka!
I theorized that Sonicwall was migrating their anti spam servers away from Amazon and into a Sprint data center, but with the TZ-215 out of support and no firmware updates available, how could I tell my old TZ-215 firewall to point to the new anti spam server @ Sprint?
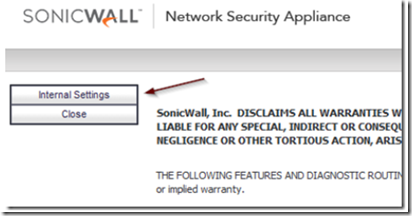
After some sleuthing, I found out that you can manually change the anti spam server by entering the TZ-215’s diagnostic mode. To do this, log in to any Sonicwall firewall (TZ200, TZ-210, TZ-215, TZ-300, etc) using admin credentials. After you are logged in, go to the URL bar and erase everything beyond the IP address (or FQDN) and add /diag.html and press enter.
Click on the internal settings button and scroll down to the anti-spam settings section.
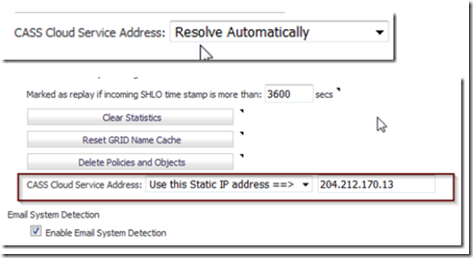
Click on the drop down box as shown below to change the CASS cloud service address from automatic to ‘Use this static IP’.
Manually add the CASS Server’s IP address (you can take it from a CASS enabled device that you know is working). You can also look at this page for CASS server IP’s, although at the time of this writing the IP’s listed here are still not up to date.
When finished scroll back to the top of the page and click on the accept button to apply the changes.

